

Product Name :Terminal Block Box junction box
Model :PH
Material : ABS,PC
Colour : Light Gray or Customize
Application : Electrical or industrial
Processing : Plastic Injection
Customization : Cutout holes, silkscreen print etc
Drawing Format :PDF, CAD, STP, Jpg etc
Function : Water-proof, Dust-proof, Fire-proof, Ultraviolet-proof
Protection Level:Ip66
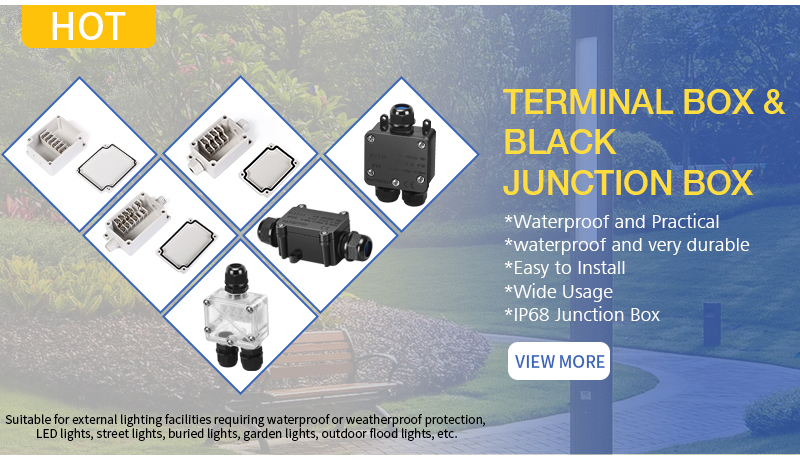
The terminal block junction box is a device in electrical systems that uses its enclosure to protect internal terminals, enabling wire connection, tapping or merging, with functions of moisture and dust protection, and facilitating maintenance.
| Size (widthxlengthxdepth mm) |
Product model Cover:Grey ABS Body:Grey ABS |
Product model Cover:Grey PC Body:Grey PC |
Product model Cover:Tranparent PC Body:Grey PC |
Product model Cover:Tranparent PC Body:Grey ABS |
|---|---|---|---|---|
| 50*102*40 | PH--AG-4P | PH--PG-4P | PH--PT-4P | PH--AT-4P |
| 55*91*43 | PH-AG-4P-M | PH-PG-4P-M | PH-PT-4P-M | PH-AT-4P-M |
| 55*125*40 | PH-AG-6P | PH-PG-6P | PH-PT-6P | PH-AT-6P |
| 75*110*40 | PH-AG-10P | PH-PG-10P | PH-PT-10P | PH-AT-10P |
| 100*180*55 | PH-AG-15P | PH-PG-15P | PH-PT-15P | PH-AT-15P |
| 100*180*75 | PH-AG-15P-S | PH-PG-15P-S | PH-PT-15P-S | PH-AT-15P-S |
| 100*223*75 | PH-AG-20P-S | PH-PG-20P-S | PH-PT-20P-S | PH-AT-20P-S |


Product Name :Terminal Block Box junction box
Model :PH
Material : ABS,PC
Colour : Light Gray or Customize
Application : Electrical or industrial
Processing : Plastic Injection
Customization : Cutout holes, silkscreen print etc
Drawing Format :PDF, CAD, STP, Jpg etc
Function : Water-proof, Dust-proof, Fire-proof, Ultraviolet-proof
Protection Level:Ip66
The terminal block junction box is a device in electrical systems that uses its enclosure to protect internal terminals, enabling wire connection, tapping or merging, with functions of moisture and dust protection, and facilitating maintenance.
| Size (widthxlengthxdepth mm) |
Product model Cover:Grey ABS Body:Grey ABS |
Product model Cover:Grey PC Body:Grey PC |
Product model Cover:Tranparent PC Body:Grey PC |
Product model Cover:Tranparent PC Body:Grey ABS |
|---|---|---|---|---|
| 50*102*40 | PH--AG-4P | PH--PG-4P | PH--PT-4P | PH--AT-4P |
| 55*91*43 | PH-AG-4P-M | PH-PG-4P-M | PH-PT-4P-M | PH-AT-4P-M |
| 55*125*40 | PH-AG-6P | PH-PG-6P | PH-PT-6P | PH-AT-6P |
| 75*110*40 | PH-AG-10P | PH-PG-10P | PH-PT-10P | PH-AT-10P |
| 100*180*55 | PH-AG-15P | PH-PG-15P | PH-PT-15P | PH-AT-15P |
| 100*180*75 | PH-AG-15P-S | PH-PG-15P-S | PH-PT-15P-S | PH-AT-15P-S |
| 100*223*75 | PH-AG-20P-S | PH-PG-20P-S | PH-PT-20P-S | PH-AT-20P-S |